Happy, Happy Friday!!
Are you sick of me posting stuff about Christmas already? If so, you may want to just look away! Until January possibly. LOL... if you are still hanging in there, THANK YOU. I don't know if you can tell, but this is my favorite time of year. Everything about it. So enjoy while you're here. If you're still reading!
I was home this last Tuesday with Jackson (sick day for our poor guy...double ear infection...) and during the day, he told me that we needed a star for the top of our Christmas tree. I am sure we're not the only ones that have experienced this... our tree has one long branch on the top. Even when you bend it, wrap it, etc., no decent-looking, heavy star will stand on the top of our poor tree. I'm not complaining...this will be our tree's 7th Christmas and it is still in pretty good shape. Oh and it was free. So there you have it. Anyway, it seemed like the only solution would be to make my own star. AND it gave me an excuse to use more.glitter.
So I looked around the house for things I had on hand that I could craft into a tree topper. Cardboard. But not heavy cardboard or we'll have the same non-standing-up issue. An almost empty Cheerios box? Perfection. I used Microsoft Word shapes (fancy, right?) to make the star and printed it.
Cut that sucker out and traced it onto cereal box cardboard.
Traced the star cut-out onto the cardboard and then cut that out.
So, again... I walked around my house looking for something. I needed something that would help me hold the star on the top of the tree. It couldn't add much more weight but needed to be sturdy. Toilet paper roll to the rescue. Not to toot my own horn (toot toot!) I thought the idea was kind of genius. I don't tend to think of myself as a super creative type so I was kind of impressed with the idea I came up with. (p.s. it works like a CHARM.) I used a stapler to attach the cardboard star to the toilet paper roll. Easy.
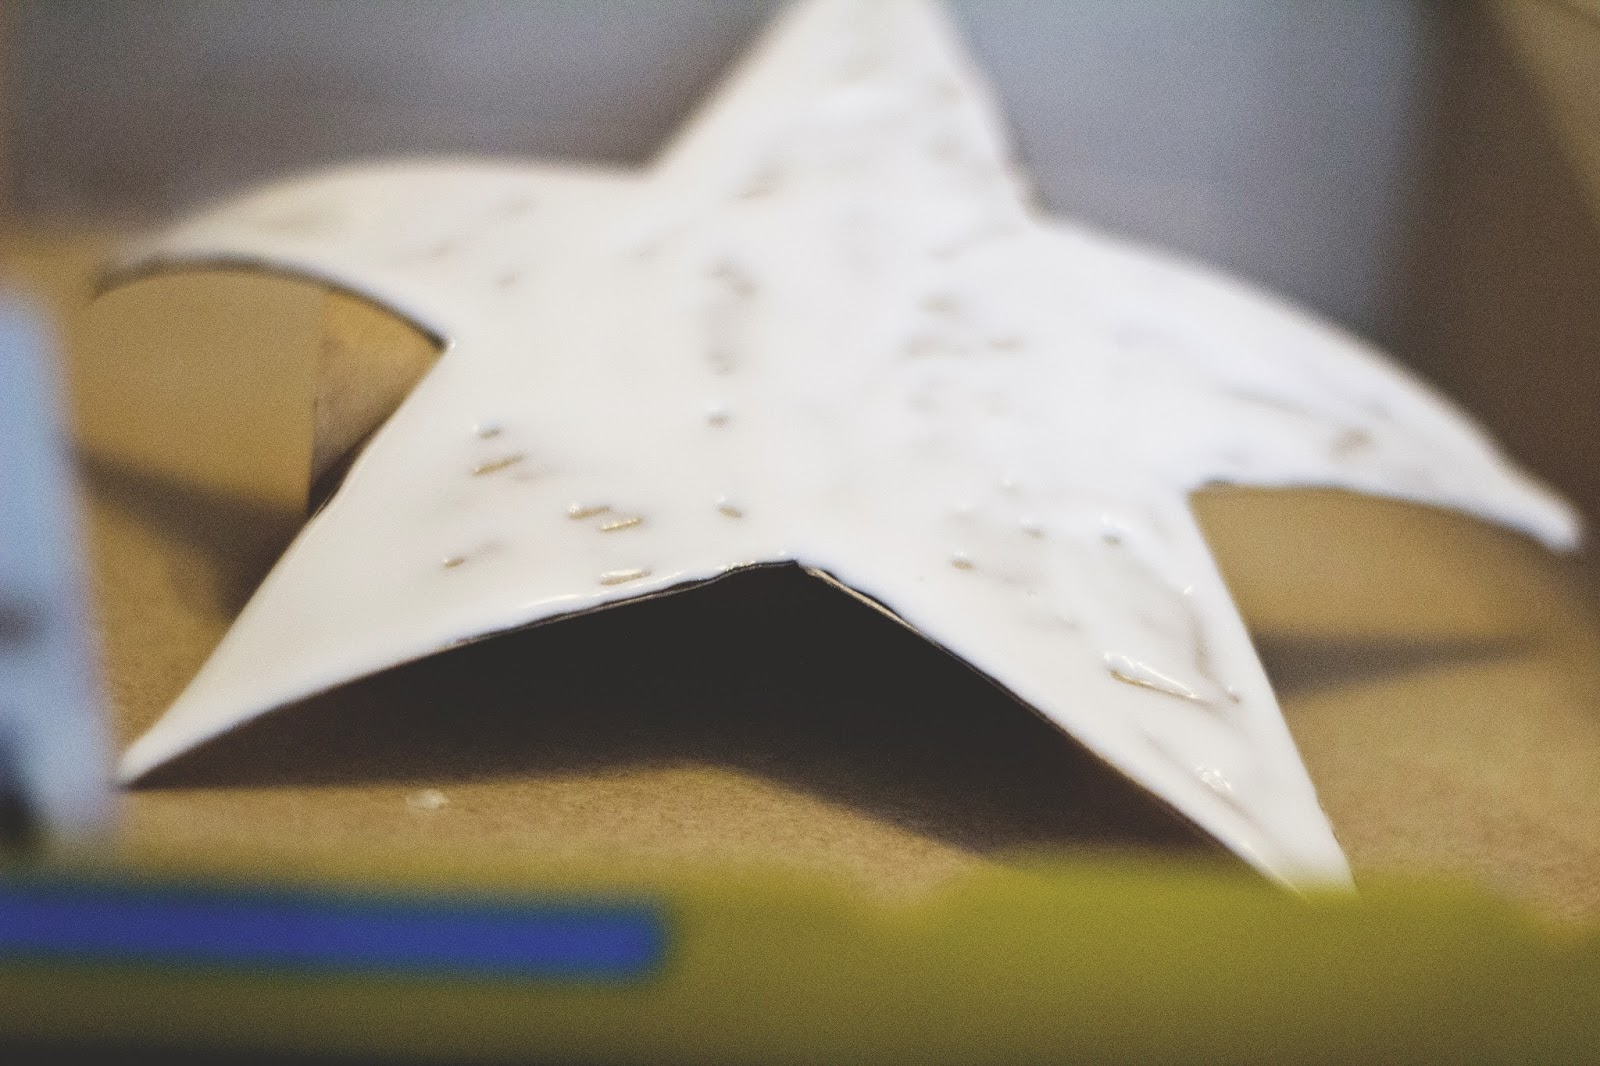
And then I drenched that poor star in good ole Elmer's glue.
Next. My favorite part. And messiest part. Glitter. Lots and lots of gold glitter.
I then covered the drying glitter star with hairspray. In theory this should help hold the glitter on and not make a huge mess? We'll see about that. Glitter always ends up being messy but who cares, look at that sparkle!! I am in love.
And for pictures of the new star in action....right after Jackson helped us put our homemade ornaments on the tree. My boys are pretty cute, aren't they?!
p.s. I love "blurry on purpose" photos. Although it looks like the lens on my camera could use a little bit of cleaning. Ooops.
My favorite. In every way.
This next series is from last year. I found this
pin on
Pinterest (of course) and followed
this tutorial to make our own Christmas ornaments. Wouldn't these be great as gifts too? I still have the majority of the supplies left over from last year and have every intention to make more in the next week or so. This time allowing Jackson to maybe have a dinosaur or two and paint his own. Those will probably end up being my favorite. I cannot wait.
Following the tutorial, here are the supplies you'll need to make your own:
- Sculpey clay
- rolling pin
- baker's twine
- paints
- cookie cutters
- paint brushes
- paint pens
- a straw
Start by rolling out your clay and try to make it as thin as you can. I had Todd do the rolling because it was a little bit harder than I'd expected it to be...and I didn't want the ornaments to be too thick or they'd be kind of heavy to hang on the tree.
Once you've rolled out the clay, space out your cookie cutters. We used one of our old cutting boards to put lots of pressure on all of those cookie cutters, just to make sure we'd get nice, clean cuts. Once again, having a handsome assistant is helpful. ;)
After removing all of the cookie cutters and cleaning up the edges of the clay, use your straw to make the holes. Those are where you'll tie your baker's twine later to hang the ornaments on your tree. Using a straw was a brilliant idea.
Next, place your newly cut ornaments in glass baking dishes. You'll then want to bake the ornaments according to the directions on the package. (As mentioned in the original post - if you are using original Sculpey oven bake clay, it should be on a glass sheet or dish, baking at 275 degrees for 15 minutes for every 1/4 inch of clay thickness.)
We let the ornaments cool completely (um maybe for days actually) before we started the painting process. It may have actually been the next weekend. Todd and I used this ornament decorating time as an in-home date night. We got ourselves some snacks and some wine, and of course some festive holiday music and got to work.
I think they turned out pretty cute! I cannot wait to make SO many more this year. I think this has become a new tradition of ours...
I think the polar bear is my favorite. He's got the cutest little smirk.
Does your family have any Christmas crafting ideas that you'd like to share? I'd love to hear some idea of other crafting projects, diy projects...anything that we could do as a family and use to bring some more cheer to our home! All ideas are welcome!!! I'll have more to share as the month of December rolls on. Until then, happy Christmas crafting! ;)